Trezor.io/start: The Complete Beginner’s Guide to Setting Up Your Trezor Wallet
Your journey to secure crypto ownership begins at Trezor.io/start. Here’s how to set up your device step by step, avoid mistakes, and protect your assets.
Why Trezor.io/start Matters
If you’ve just purchased a Trezor hardware wallet, your first stop should always be Trezor.io/start. This is the official setup portal where you install firmware, initialize your wallet, and learn how to safeguard your recovery seed. By starting here, you guarantee that your device is genuine, properly configured, and resistant to tampering.
Think of Trezor.io/start as the digital welcome mat to your new crypto vault.
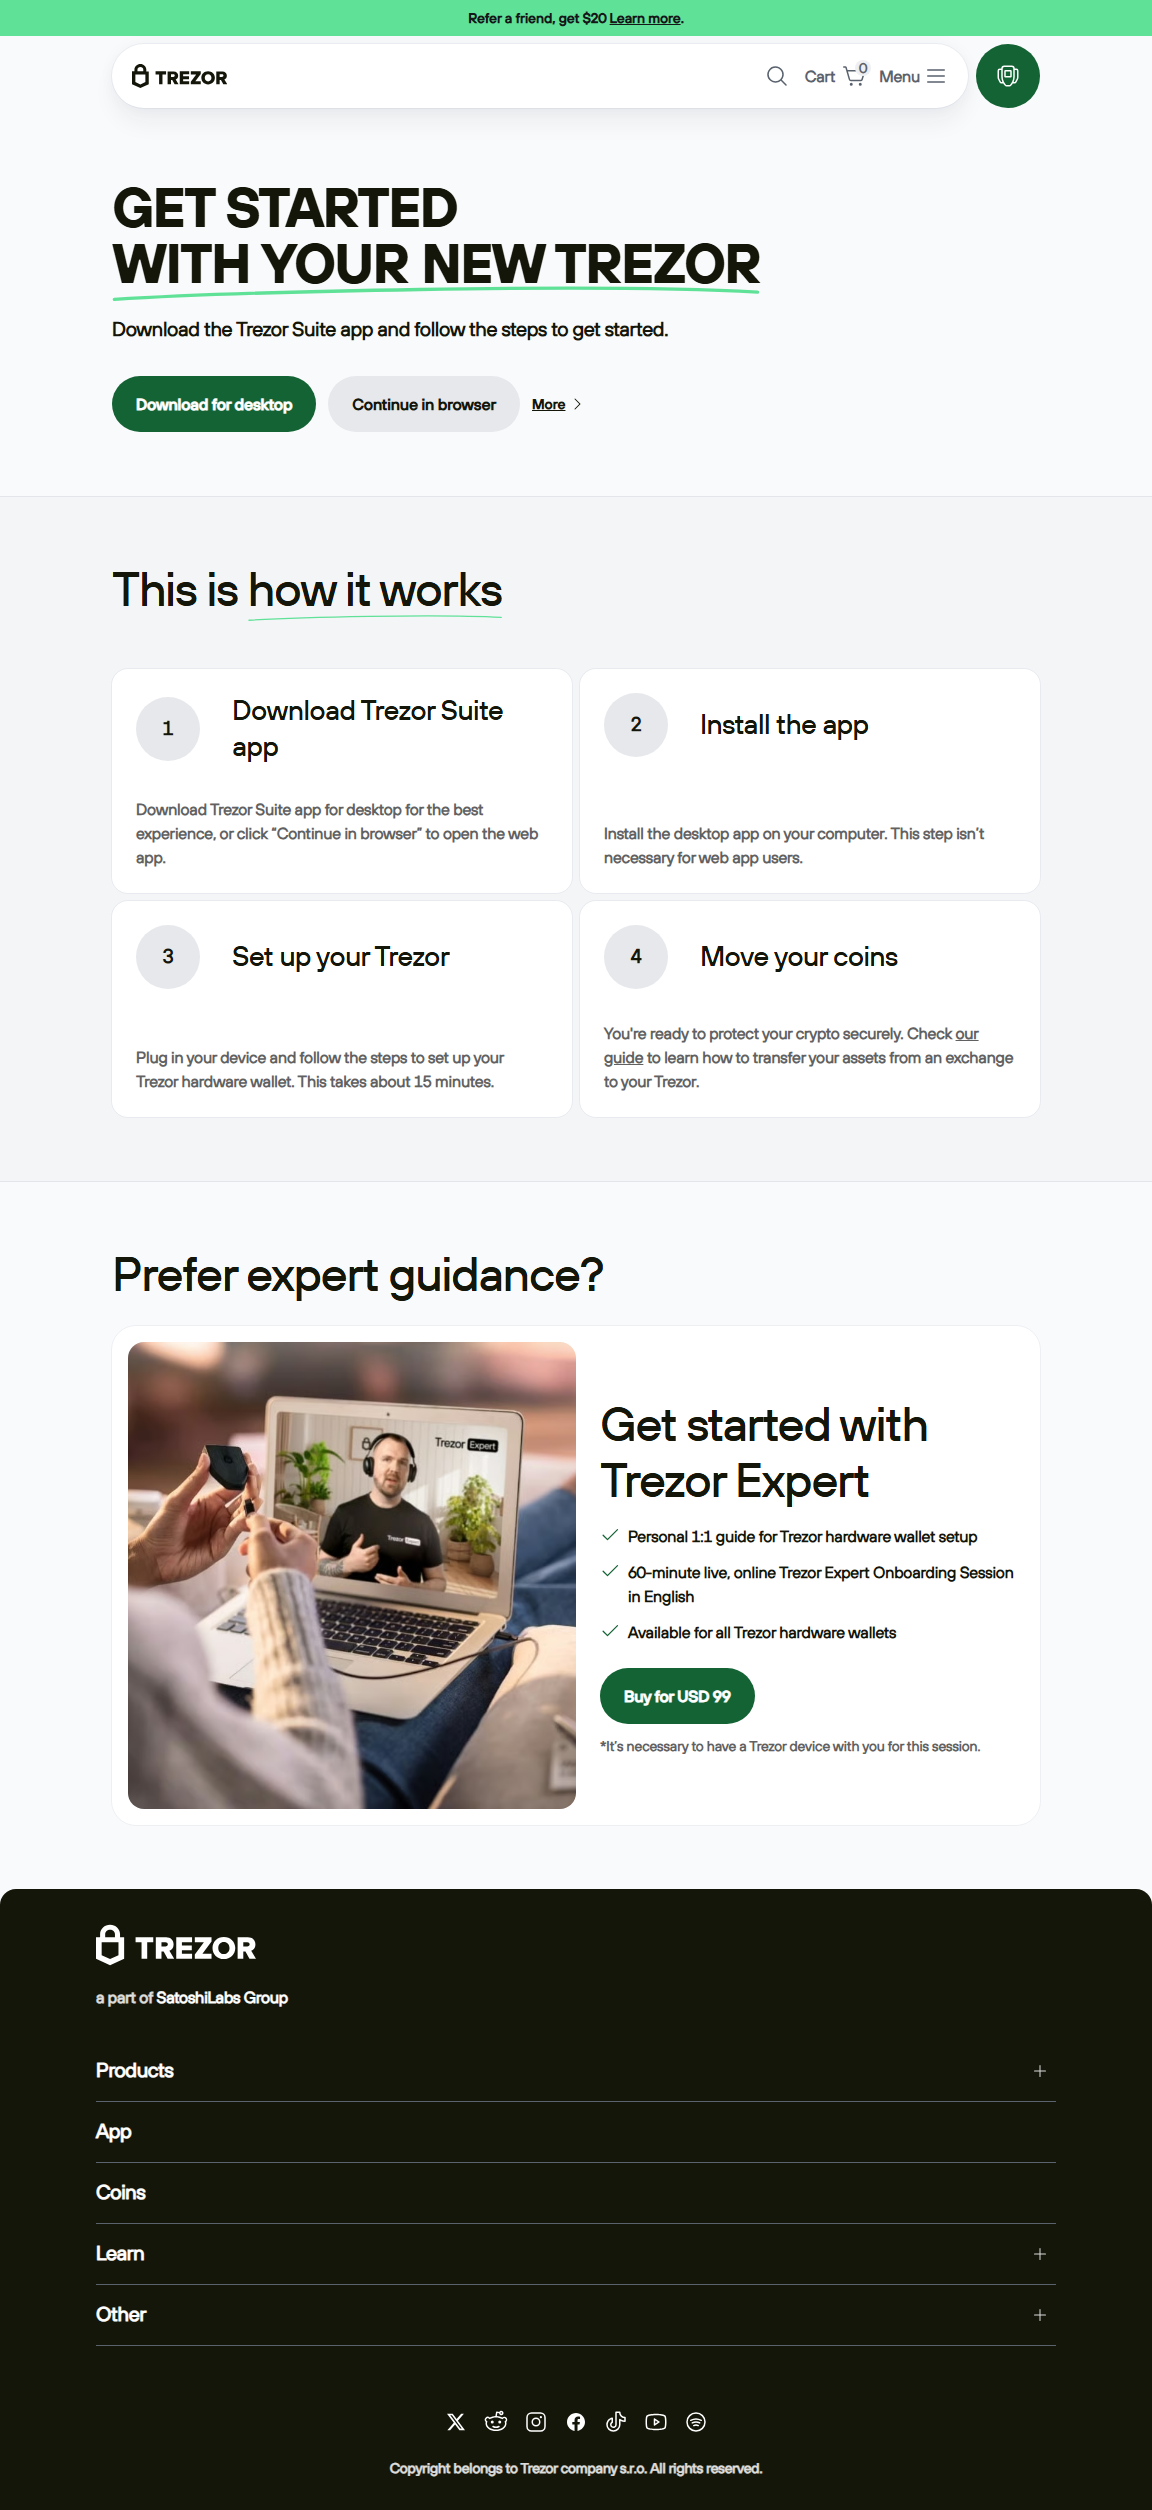
Step-by-Step: How to Set Up Trezor via Trezor.io/start
- Unbox Your Device: Check the holographic seal to ensure authenticity. If tampered, contact Trezor support immediately.
- Go to Trezor.io/start: Open the page in your browser. Always type it manually to avoid phishing sites.
- Download Trezor Suite: The site guides you to install Trezor Suite, the official desktop app.
- Connect Device: Plug your Trezor One or Model T into your computer.
- Install Firmware: The device ships without firmware for security reasons. The Suite will prompt installation.
- Create New Wallet: You’ll generate a wallet and receive a unique recovery seed.
- Write Down Recovery Seed: Write the 12/24-word phrase on paper (never digitally). This is your backup if the device is lost.
- Set PIN & Passphrase (Optional): Protects your device from unauthorized access.
- Explore Trezor Suite: Add accounts, send/receive crypto, and monitor your portfolio securely.
⚠️ Important Security Reminder
Never share your recovery seed with anyone — not even Trezor support. Trezor.io/start is the only official setup link. Bookmark it to avoid fake websites designed to steal your seed phrase.
Trezor.io/start vs. Third-Party Setup Guides
| Aspect | Trezor.io/start | Unofficial Guides |
|---|---|---|
| Authenticity | Direct from Trezor, 100% genuine | Risk of tampered or outdated instructions |
| Security | Guided by official firmware and Suite | May trick users into entering recovery seed |
| Ease of Use | Step-by-step wizard, beginner-friendly | Confusing, varies by source |
Analogy: Setting Up Trezor is Like Building a Safe
Imagine buying a high-end safe for your valuables. When it arrives, it’s locked with no default code. The manufacturer provides a trusted instruction manual that walks you through setting a unique combination. That’s exactly what Trezor.io/start does for your crypto wallet — it ensures your safe (Trezor) is initialized securely, with a combination (PIN + recovery seed) that only you know.
Advanced Tips After Visiting Trezor.io/start
- Enable Hidden Wallets: Use a passphrase to create “decoy wallets” for privacy.
- Use Tor with Trezor Suite: Adds extra anonymity when managing funds.
- Check Address Verification: Always confirm recipient addresses on the device screen, not just your computer.
- Multiple Backups: Store recovery seeds in two separate secure places.
Frequently Asked Questions
1. Do I need an internet connection for Trezor.io/start?
Yes, but your private keys never leave the hardware device. The internet is only used to download firmware and connect to Trezor Suite.
2. Can I skip using Trezor.io/start?
No. This is the official and safest way to initialize your device. Skipping it risks using outdated firmware or malicious software.
3. What happens if I lose my recovery seed?
Without your recovery seed, lost funds cannot be restored. Always back it up during the Trezor.io/start process.
Final Thoughts
Trezor.io/start is more than just a link — it’s the secure gateway to your crypto journey. By following the official setup, you ensure your device is authentic, your recovery seed is safe, and your funds are protected. Whether you’re a beginner or a mid-level user, starting the right way means peace of mind in the fast-moving world of cryptocurrency.